
 1 of 1
- Fleetwing
- Typewriter Talk Vet
 Offline
 - From: Hartford, CT USA
- Registered: 30-6-2015
- Posts: 1,023
Royal Model O -- On Feet and/or Ring and Cylinder Adjustment
Recently got one of these, in very nice shape and all works fine. Printing of the lower case characters, however, fades toward the bottom. Capitals are fine. It may simply be a hard platen (which might have shrunk slightly over the years); I haven't tried using backing paper, and maybe that will do the trick sufficiently.
But I've been looking to see if there is any sort of service manual for this model. I have seen the Ames Royal Portable, but that is for segment-shift machines, and the O is carriage shift. The Ames manual shows specific screws for the on feet adjustment, but I do not see those on the O.
Any guidance would be most appreciated, or a pointer in the direction of a relevant service manual. Thanks!
- SoucekFan
- Key Master
Offline

- From: United States
- Registered: 27-12-2015
- Posts: 510
Re: Royal Model O -- On Feet and/or Ring and Cylinder Adjustment
I cannot recall specifically where they are, but if you look inside the machine while shifting and releasing you should be able to find the parts that limit the on feet and motion and be able to see the adjustment points for both. If I am remembering correctly, they are pretty easy to see on this machine, and not difficult to access.
- SoucekFan
- Key Master
Offline
- From: United States
- Registered: 27-12-2015
- Posts: 510
Re: Royal Model O -- On Feet and/or Ring and Cylinder Adjustment
I just looked. The on feet and motions stops are located near the rear corners between the rails.
- Fleetwing
- Typewriter Talk Vet
Offline
- From: Hartford, CT USA
- Registered: 30-6-2015
- Posts: 1,023
Re: Royal Model O -- On Feet and/or Ring and Cylinder Adjustment
Thanks -- I'll take a look. Motion stops I did see, but that was all. Maybe I'm not sure just what I am looking for.
- •
- Fleetwing
- Typewriter Talk Vet
Offline
- From: Hartford, CT USA
- Registered: 30-6-2015
- Posts: 1,023
Re: Royal Model O -- On Feet and/or Ring and Cylinder Adjustment
I should have added -- the on feet adjustment would move the carriage toward or away from the segment, correct? As opposed to being some sort of vertical stop?
- •
- SoucekFan
- Key Master
Offline
- From: United States
- Registered: 27-12-2015
- Posts: 510
Re: Royal Model O -- On Feet and/or Ring and Cylinder Adjustment
While I am not an expert, I believe the on feet and shift stops only effect vertical positions, and the up and down movement is parallel to the segment--the stops on both sides will have to be adjusted to an equal height. Adjusting the on feet will affect its relationship with the capital height, and unless just the on feet is off, the shift stops will have to be adjusted, as well; but I have never had to adjust the ring and cylinder when only adjusting the overall character heights.
- SoucekFan
- Key Master
Offline
- From: United States
- Registered: 27-12-2015
- Posts: 510
Re: Royal Model O -- On Feet and/or Ring and Cylinder Adjustment
I should note, I am not saying whether or not your specific issue is caused by the on feet position, just where these adjustment would be made.
- SoucekFan
- Key Master
Offline
- From: United States
- Registered: 27-12-2015
- Posts: 510
Re: Royal Model O -- On Feet and/or Ring and Cylinder Adjustment
As far as where the ring and cylinder adjustment points are located, I am not sure, but there is a chance that the Model O uses a similar system to the Model P, and there is a repair manual for that which can be found here.
- Fleetwing
- Typewriter Talk Vet
Offline
- From: Hartford, CT USA
- Registered: 30-6-2015
- Posts: 1,023
Re: Royal Model O -- On Feet and/or Ring and Cylinder Adjustment
Thanks! I had seen that but thought the P was different. I'll take another once I have some time to remove the body shell. In the meantime, backing paper does seem to help some -- maybe I'll try a couple of sheets next. (Or do you or others have suggestions about what sort of backing paper to use?)
- •
- Pete E.
- Typewriter Talk Elite
Offline

- From: Idaho - USA
- Registered: 23-6-2020
- Posts: 2,692
Re: Royal Model O -- On Feet and/or Ring and Cylinder Adjustment
I just use a sheet of this Avery product as a backing sheet to my typewriter paper.
I cut the sheet to the size of my typing paper on my flat-bed paper cutter.
I keep the peel & stick backer-paper on the laminating sheet and place its clear plastic side in touch with my typing paper.
In a month or so when the laminating sheet is full of typing "dimples", I just toss it and start with a new sheet.
The laminating sheet provides for a soft landing surface for the type-slugs before they contact the platen. And it makes for quieter hits on the platen, as well.
When my local office supply does not have the Avery sheets in stock, I get them on eBay.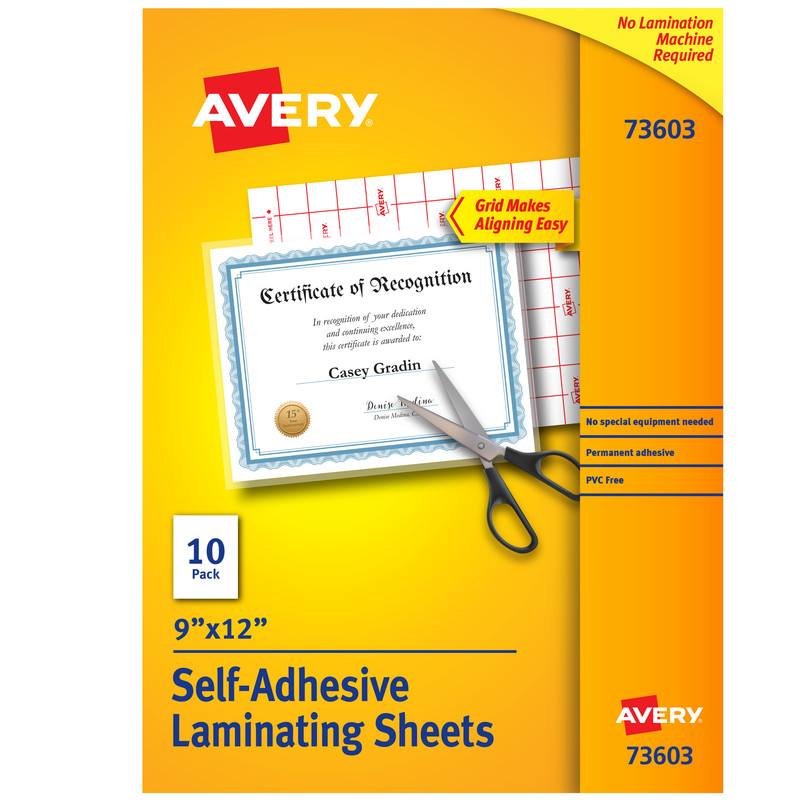
p { line-height: 120%; margin-bottom: 0.1in; background: transparent }
