
 1 of 1
- ArrowJ
- New Member
 Offline
 - Registered: 16-11-2025
- Posts: 4
Correct Order for Reassembly for Smith Corona Sterling 5AX circa 1963
I have a very difficult problem with which I need some help. I will tell the entire story for context, but if you would rather skip that simply scroll to the PROBLEM label below.
My Dad is in his 70's and has several health issues. As is the way of man, he is thinking about the past more. A few years ago his kidneys quit and he does all the treatments now. Soon after that he was diagnosed with prostate cancer.
He was talking about his childhood and brought up the typewriter his grandmother bought him as a young boy. She raised him and worked herself to death to do so. He wanted to use it one more time, but had stored it in a shed. It was in very bad shape. The rust was progressing aggressively. I told him I would sort it for him.
I brought it home and began trying to clean it with as little disassembly as possible. I soon realized that in the end if I wanted to remove the rust and slow the reaper, I would have to strip it down. I took images and worked on it a little each day.
Then my Dad decided he wanted to have every sermon he has preached since he was 18 (many of the first ones typed on that typewriter) digitized. I told him I would sort it when the typewriter was done. Over the next three months he kept bringing it up so that I would realize he preferred to have the sermons done first. This project took me a little over two years. Now I have a typewriter in a thousand pieces and not enough context left in my aging brain to figure out the proper sequence to put it back together. I have been labeling the parts according to the manuals available and watching as many videos as I can, but as most of you probably know. No one in their right mind would take it as far apart as I did.
PROBLEM:
I need an order of operations such that I do not put the cart before the horse and have to redo it over and over.
I can wrap my mind around the pieces and have them cleaned, and I am organizing them now. I have the information I could find online. I also have an exact duplicate that I bought for the few parts I needed to replace.
I realize that once I get it back together I will probably have another few months of trying to get everything to work smoothly.
Worst case scenario I will have to literally record myself disassembling the duplicate so I can then do everything in reverse, but that is a nightmare to think about.
I will attach images.
Typewriter: Smith Corona Sterling 5AX circa 1963
- ArrowJ
- New Member
Offline
- Registered: 16-11-2025
- Posts: 4
Re: Correct Order for Reassembly for Smith Corona Sterling 5AX circa 1963
Reference Documentation
Source: 1964 Smith Corona 5 & 6 Series Parts Catalog Affected Assembly: Main Keylever and Sublever Mechanism (Pages 338, 352)
Initial State
Components Installed:
#1 Keylevers (All)
Components Removed (To be installed later):
#2 Keylever Springs
#3 Keylever Spring Bar
#16 Type Rest (Page 352)
Components to be Installed in this Procedure:
#14 Sublever Segment Wire
#15 Sublever Links
#16 Sublevers
Procedure
Note: This workflow assumes a starting point on the right side of the machine (facing the keyboard). As installation progresses toward the left, workspace will become increasingly restricted.
1. Identification
Orientation: Machine resting on its side.
Apply a tactile marker (e.g., sticky tack) to the specific Keylever currently being assembled. This allows for identification by touch when reaching from the bottom of the chassis without visually verifying from the top.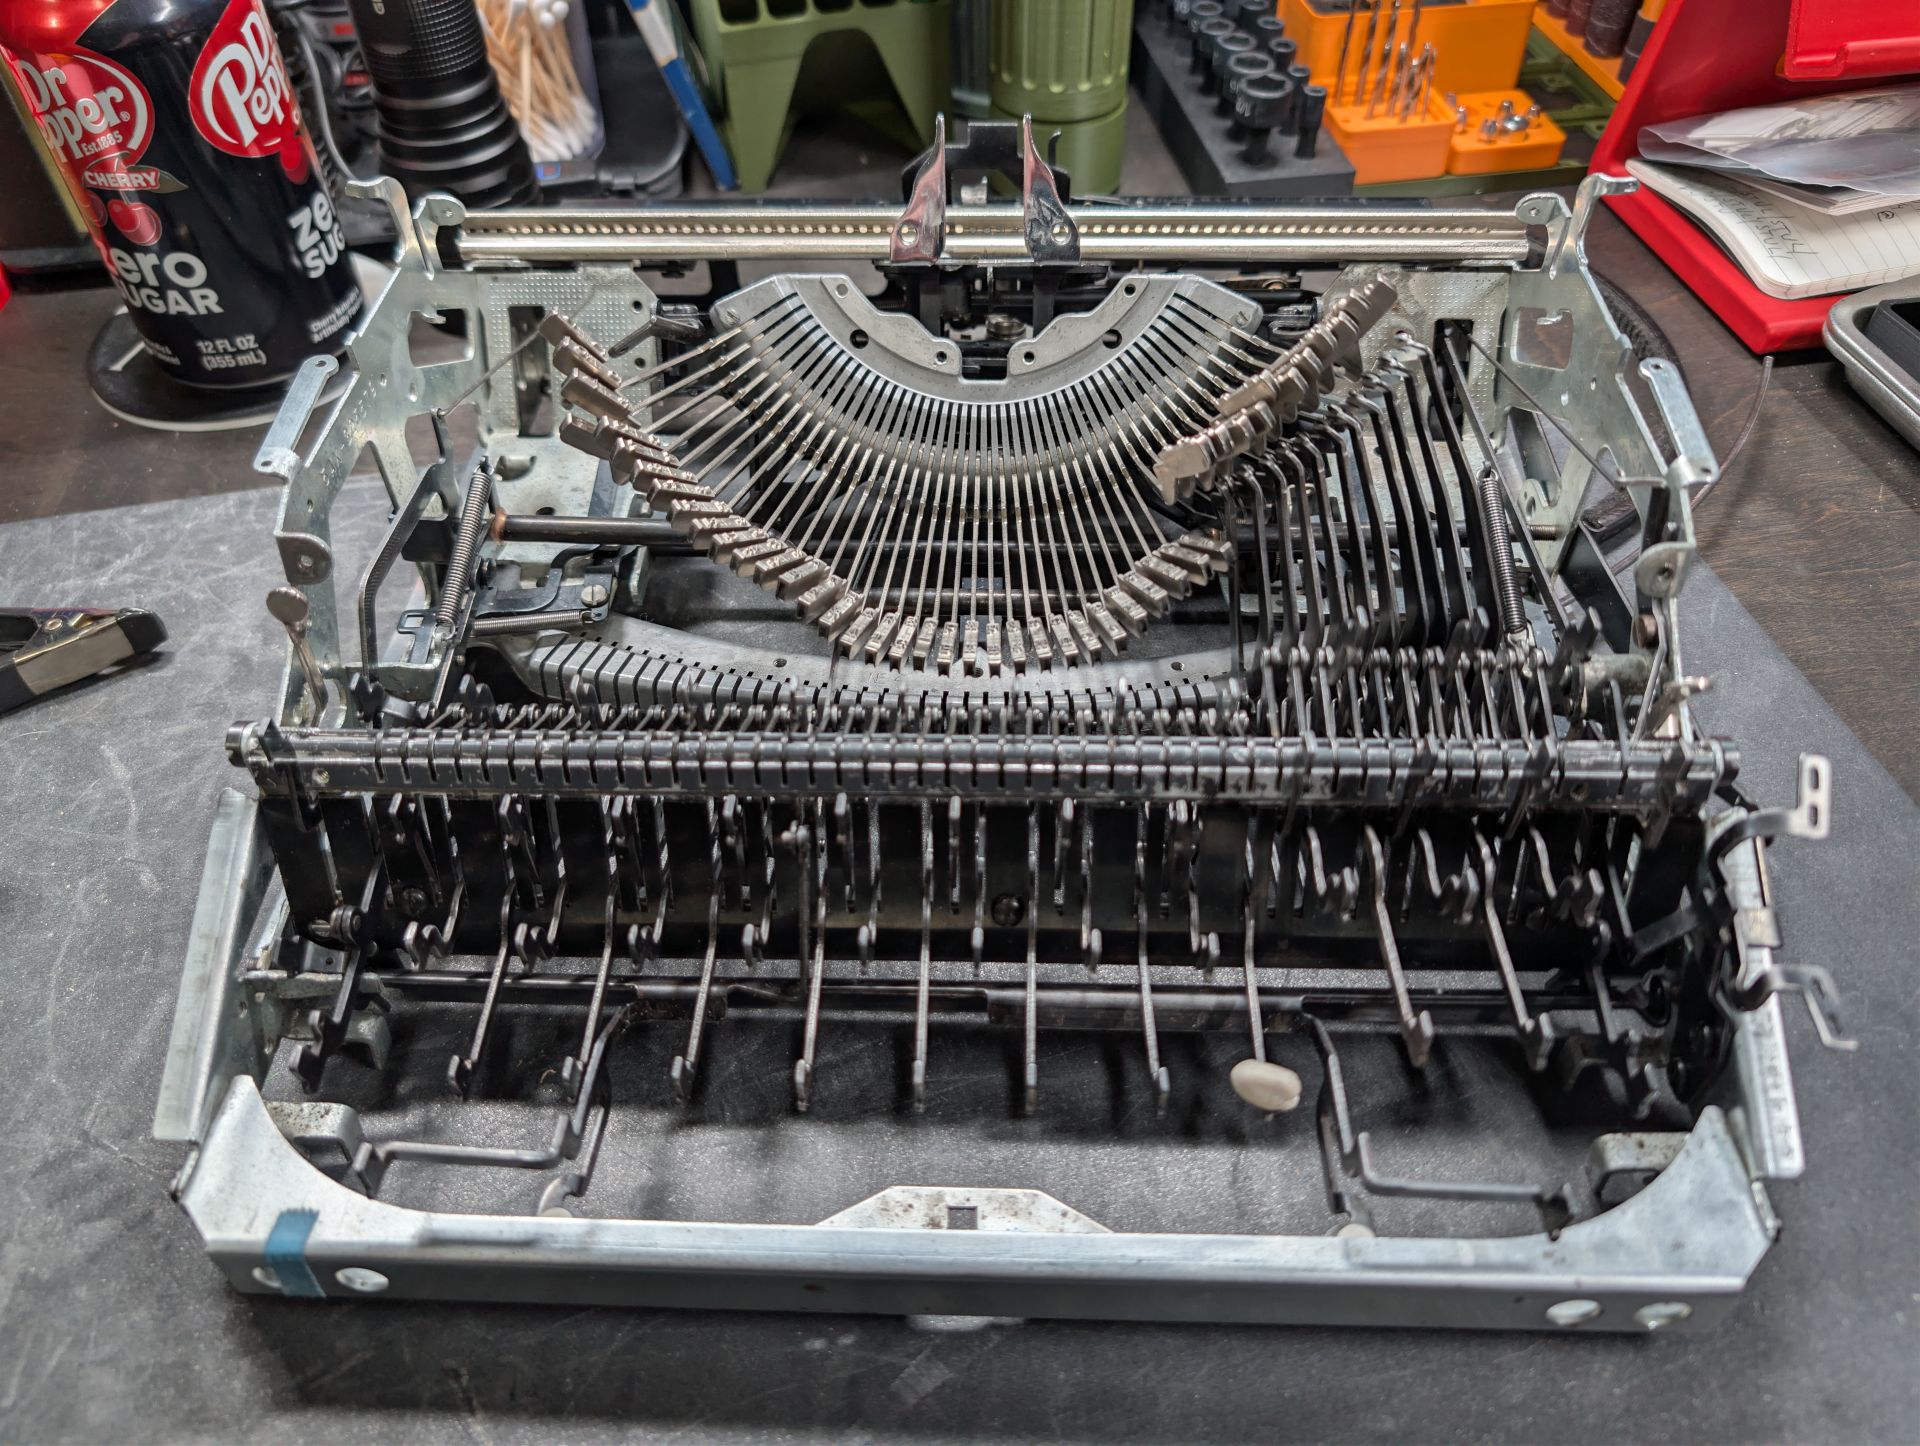
2. Linkage Installation
Orientation: Machine resting on its side (viewing from bottom).
Using a small parts grabber, grasp a Sublever Link.
Hook the Sublever Link into the bottom of the two small holes on the target Keylever.
Technique: Position the grabber close to the connection point to stabilize the Sublever Link in preparation for the next step.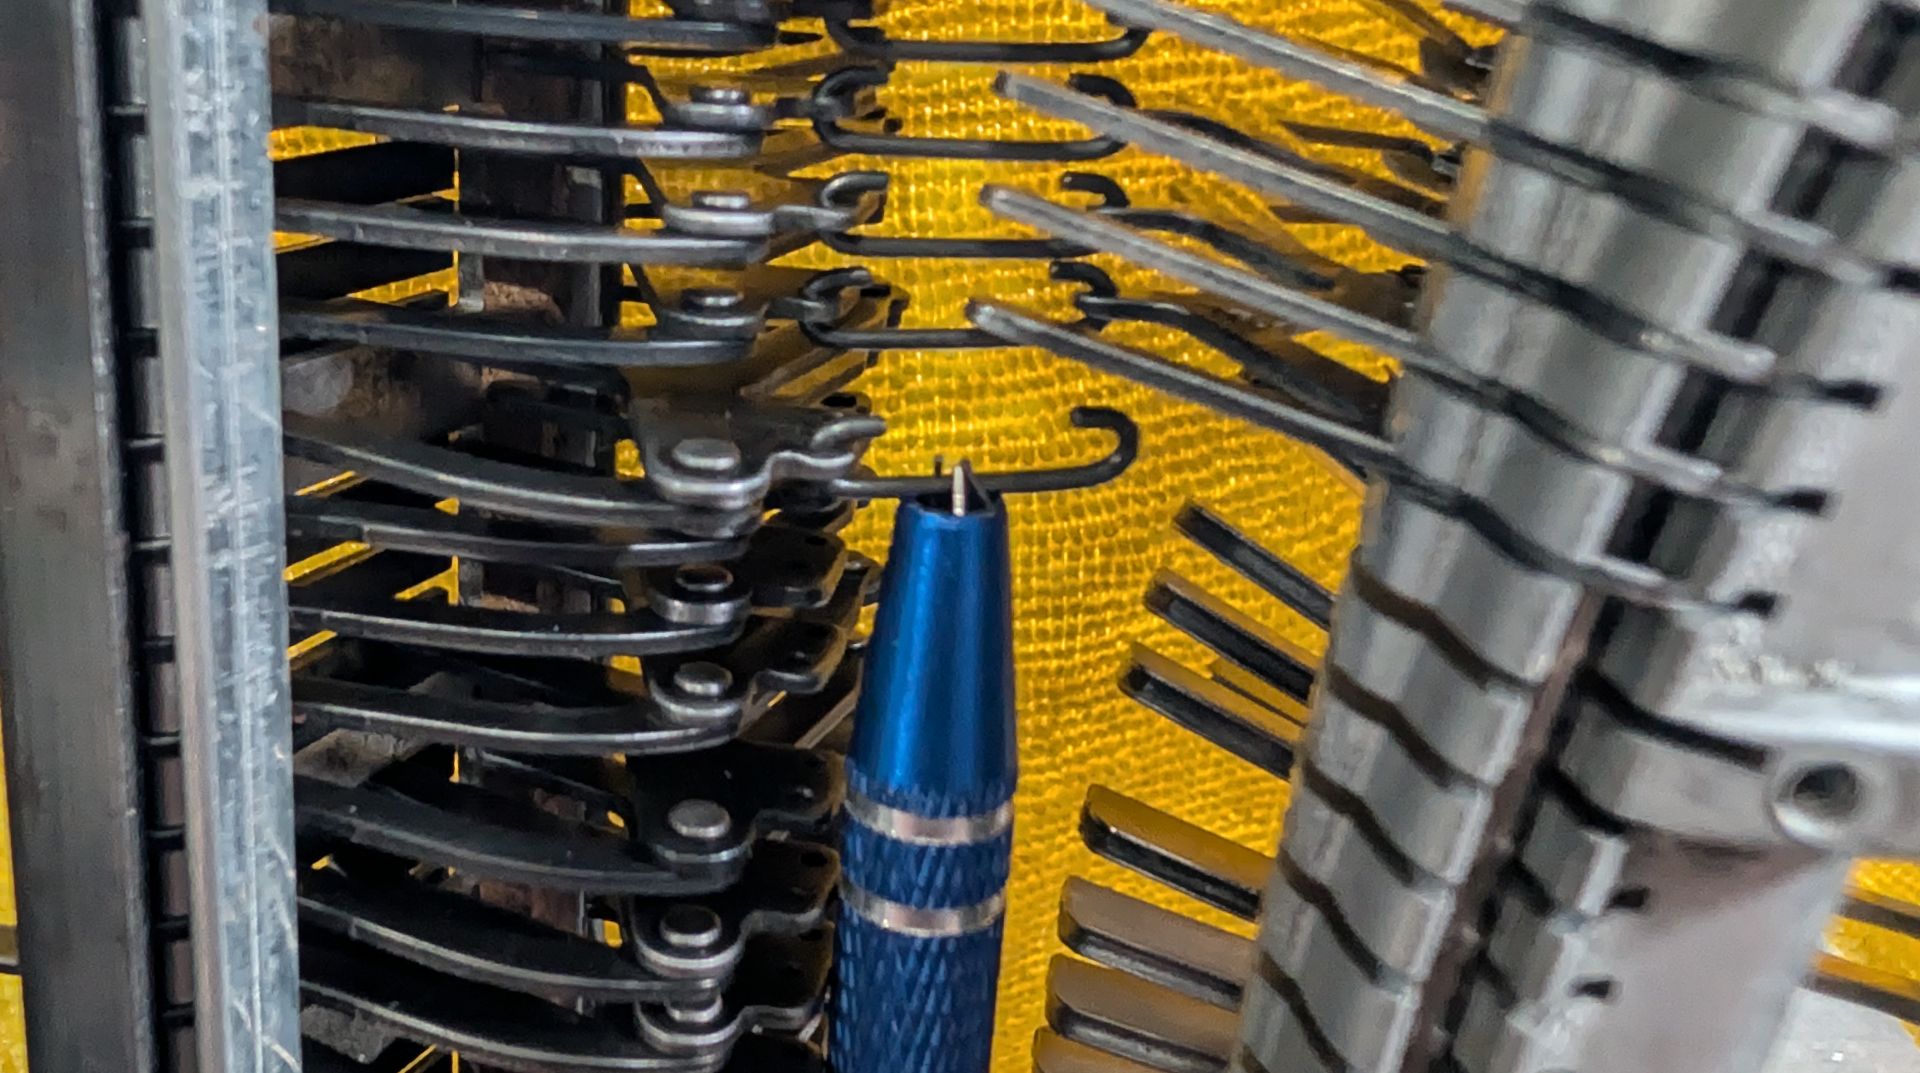
3. Sublever Staging
Orientation: Machine resting on its side (viewing from top).
Hook the Sublever onto the free end of the Sublever Link.
Slide the Sublever into the Sublever Segment until it is friction-fit or lightly seated in position.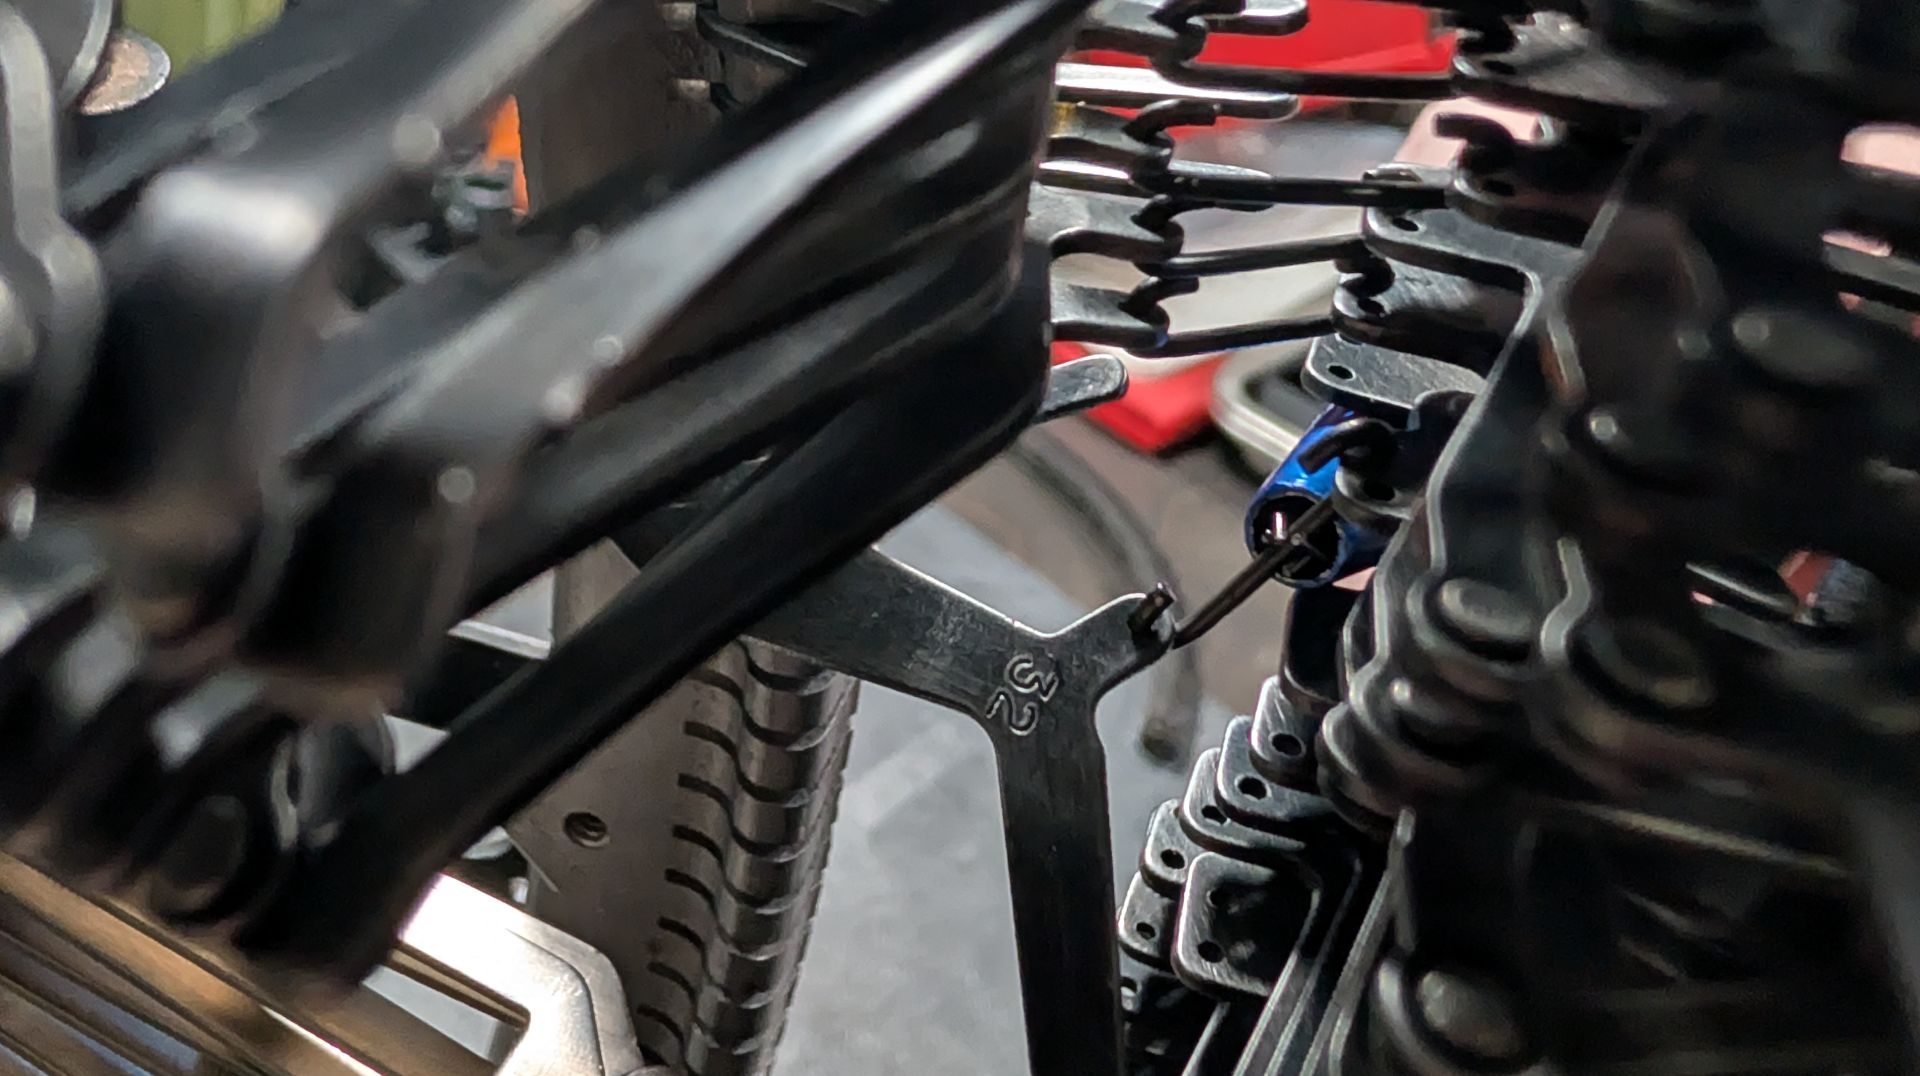
4. Segment Wire Insertion
Orientation: Machine resting on its side (viewing from bottom).
WARNING: Exercise extreme caution when retracting the Sublever Segment Wire. Retract it only far enough to clear the new Sublever. Retracting the wire too far will disengage previously installed Sublevers, requiring re-installation.
Align the new Sublever with the segment wire path.
Advance the Sublever Segment Wire through the new Sublever to secure it.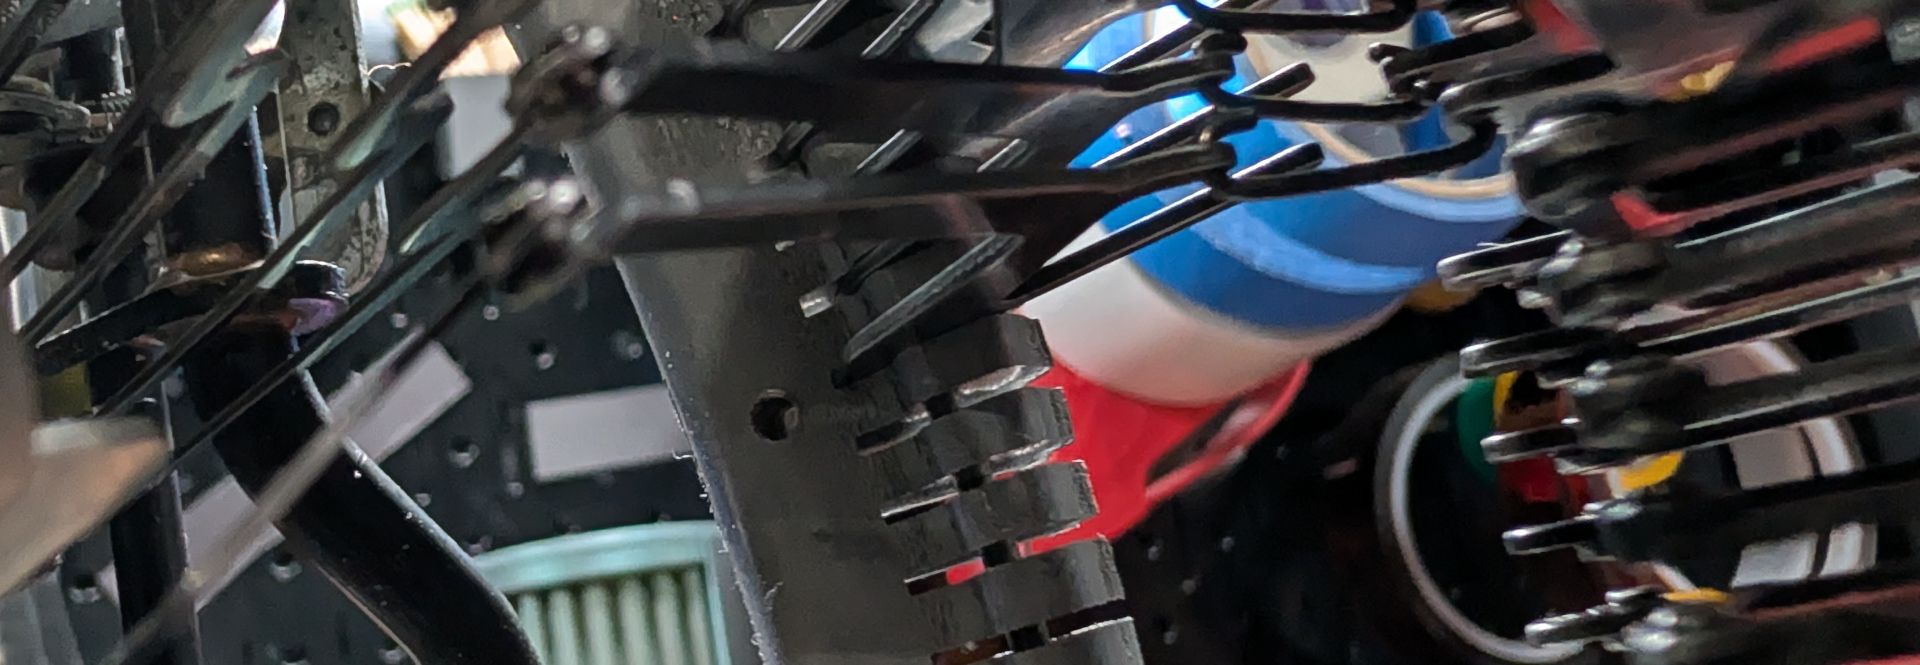
5. Final Connection
Orientation: Upright (Standard operating position).
Connect the opposing end of the Sublever to the corresponding Typebar.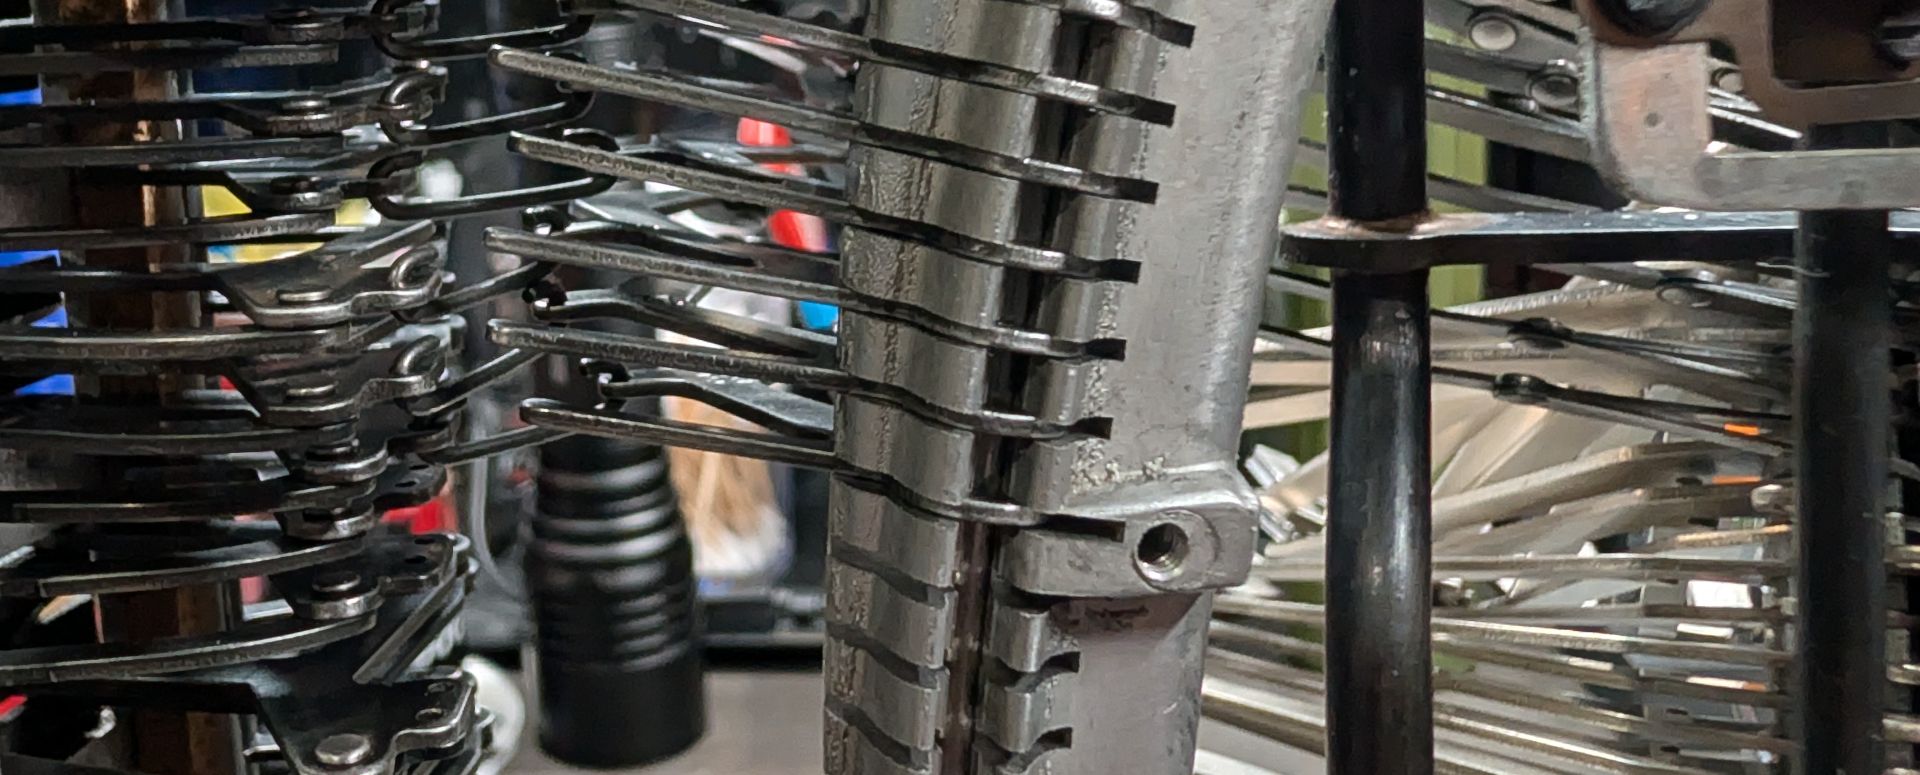
- •
1 of 1
